If you're unsure how to get to this step, the following articles are recommended:
Creating/Duplicating a Newsletter
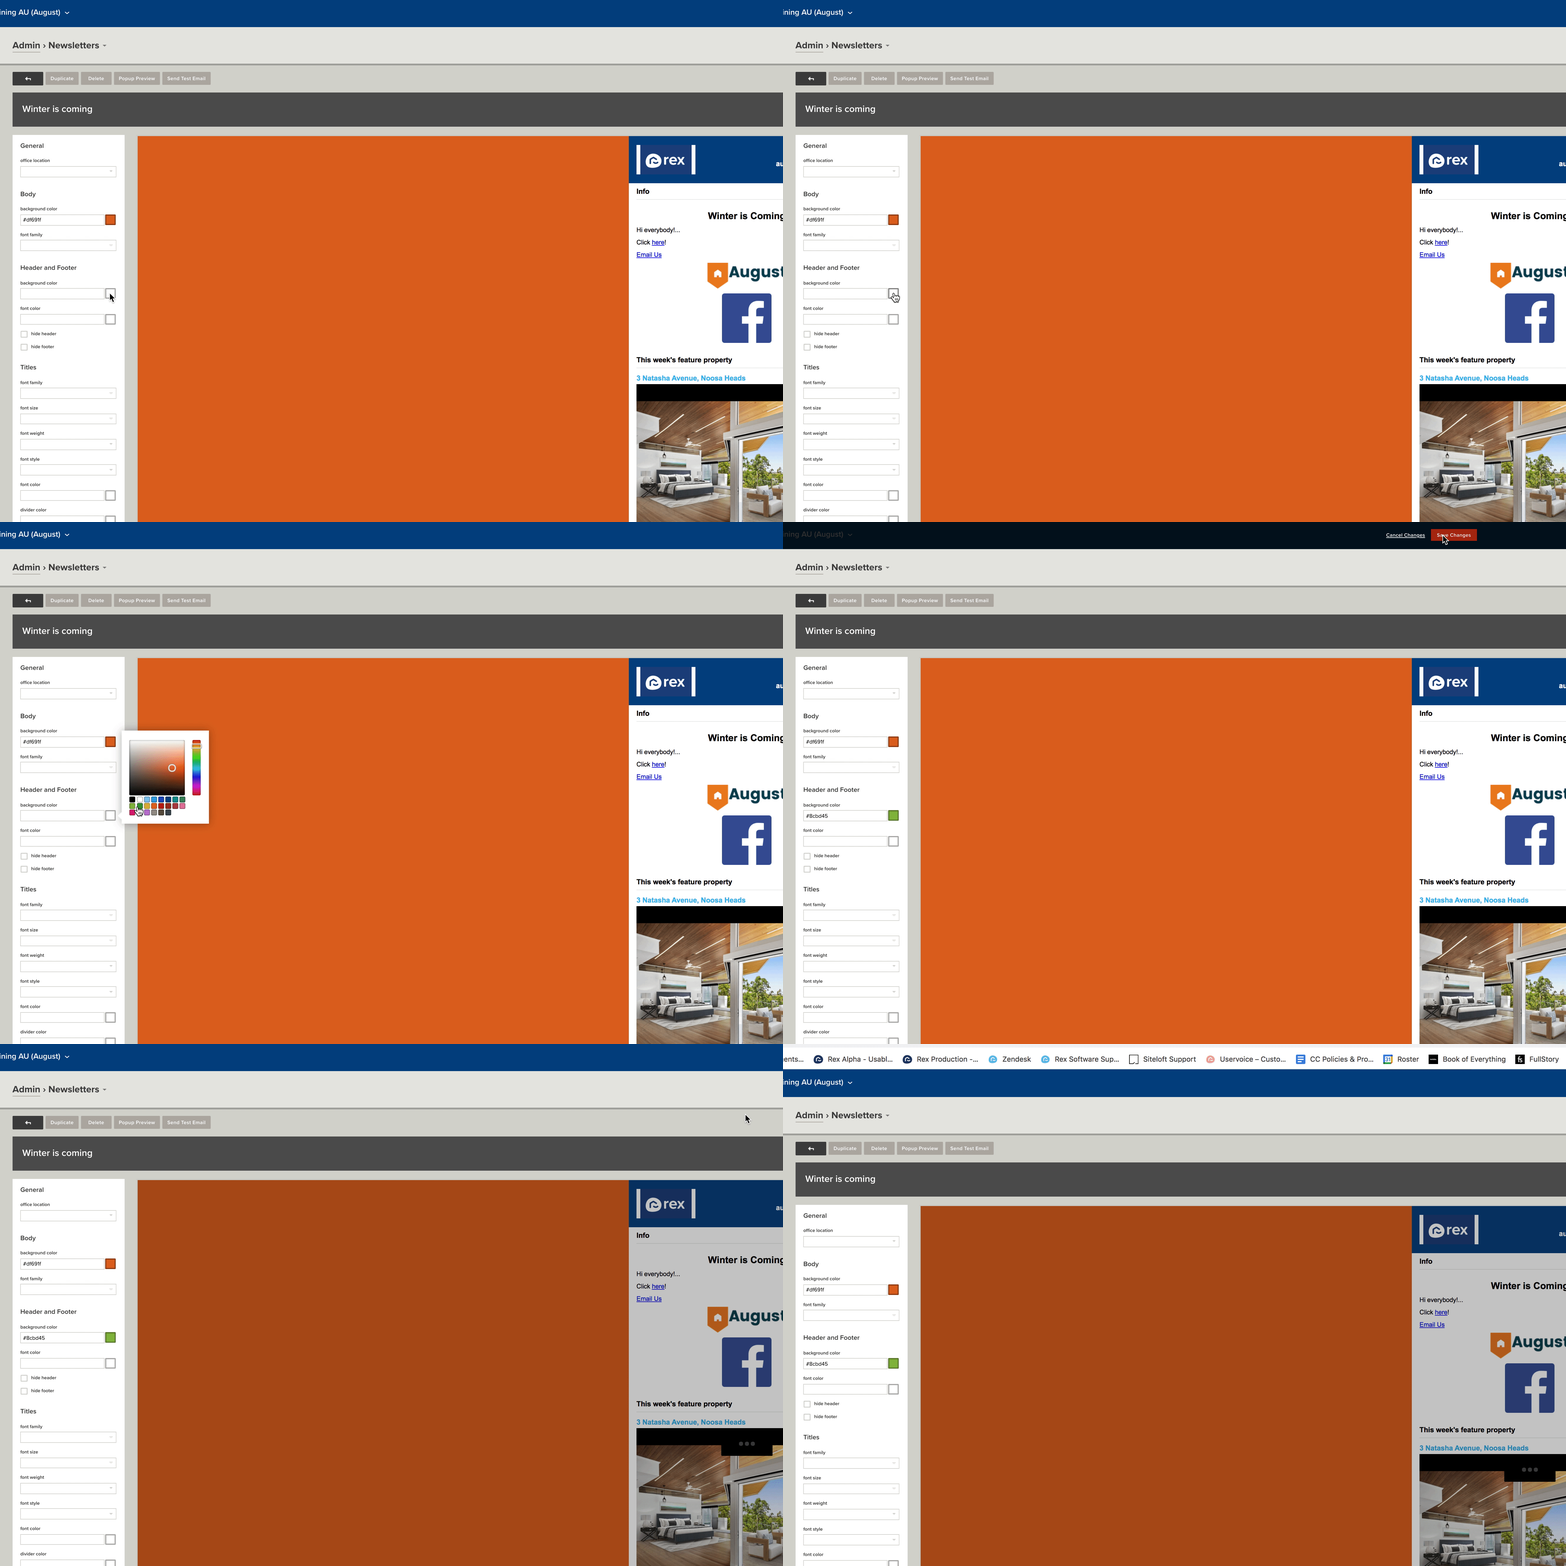
The following content covers the left-hand panel of the Newsletter module. Please note for changes to take effect you'll need to click Save Changes in the black overlay after each change.
General
If you're in a Multi-Location office you can change the location so the office details on the newsletter will be changed to the appropriate details.
Body
You can select your background colour by either entering a Hex colour code into the text box or clicking on the colour picker box. This will change the side panel colours of your newsletter. You can change your font from the drop-down box.
Header & Footer
You can select your background colour by either entering a Hex colour code into the text box or clicking on the colour picker box, this will change the colour of your header and footer in your newsletter.
Alternatively if you don't want our standard header and/or footer you can tick the 'Hide footer' and/or 'Hide header' checkboxes and they will be removed entirely. This means if you want to use your own header and footer you have designed you can remove our header and footer and then insert your header and footer using the 'image' block type. View our content on block types for more information on this.

Please Note: while you can hide the Newsletter header & footer, the unsubscribe link and Rex logo cannot be removed from the template itself.
Titles & Content
You can edit the font, size, weight, style and colour - as well as the divider colours. Have a play around with these options to find something which suits your branding.
Once these details have been entered click Save Changes in the black overlay, then click Next Step.
In our next help article, we’ll be covering off Finalising your Newsletter.