If you're unsure how to get to this step, the following articles are recommended:
Creating/Duplicating a Newsletter
You'll now be on the Plain Text Version screen. In order to reduce the likelihood of your email being caught in spam filters, we advise you enter a plain text version of your email. Users will see this in the rare case that the client does not support HTML emails.
- Click Generate plain text from content
- Click Save Changes in the black overlay
- Click Next Step
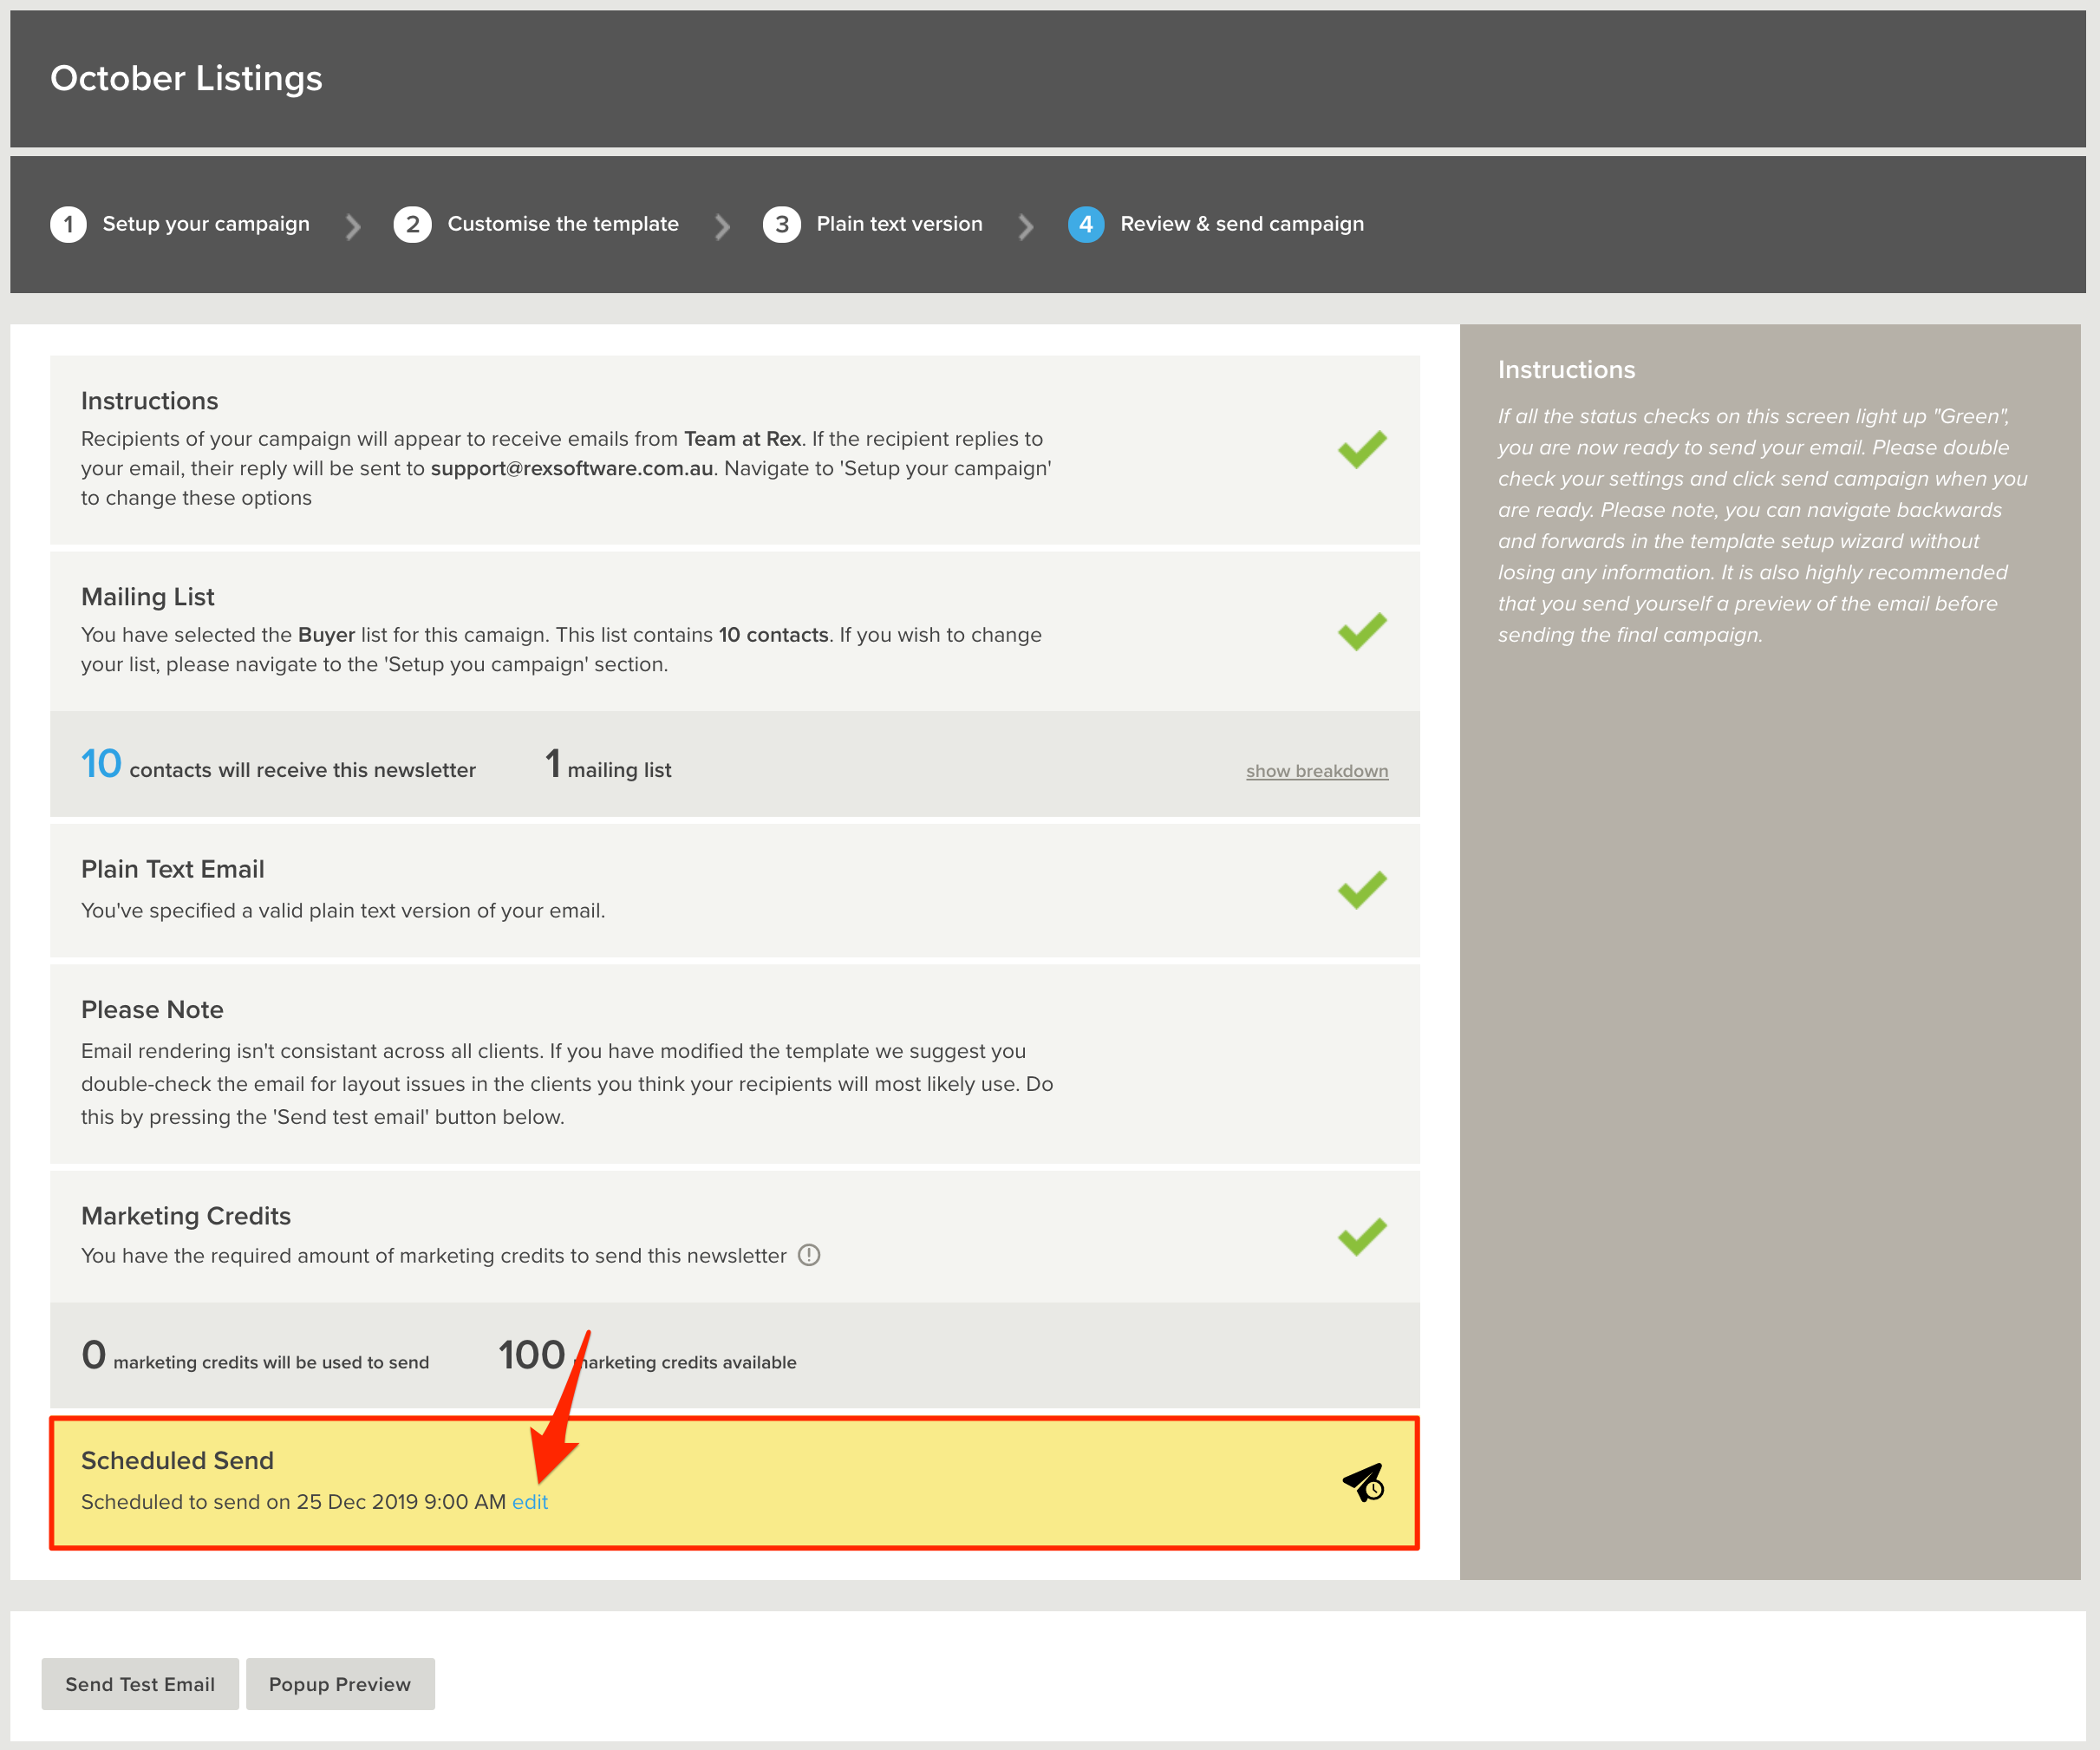
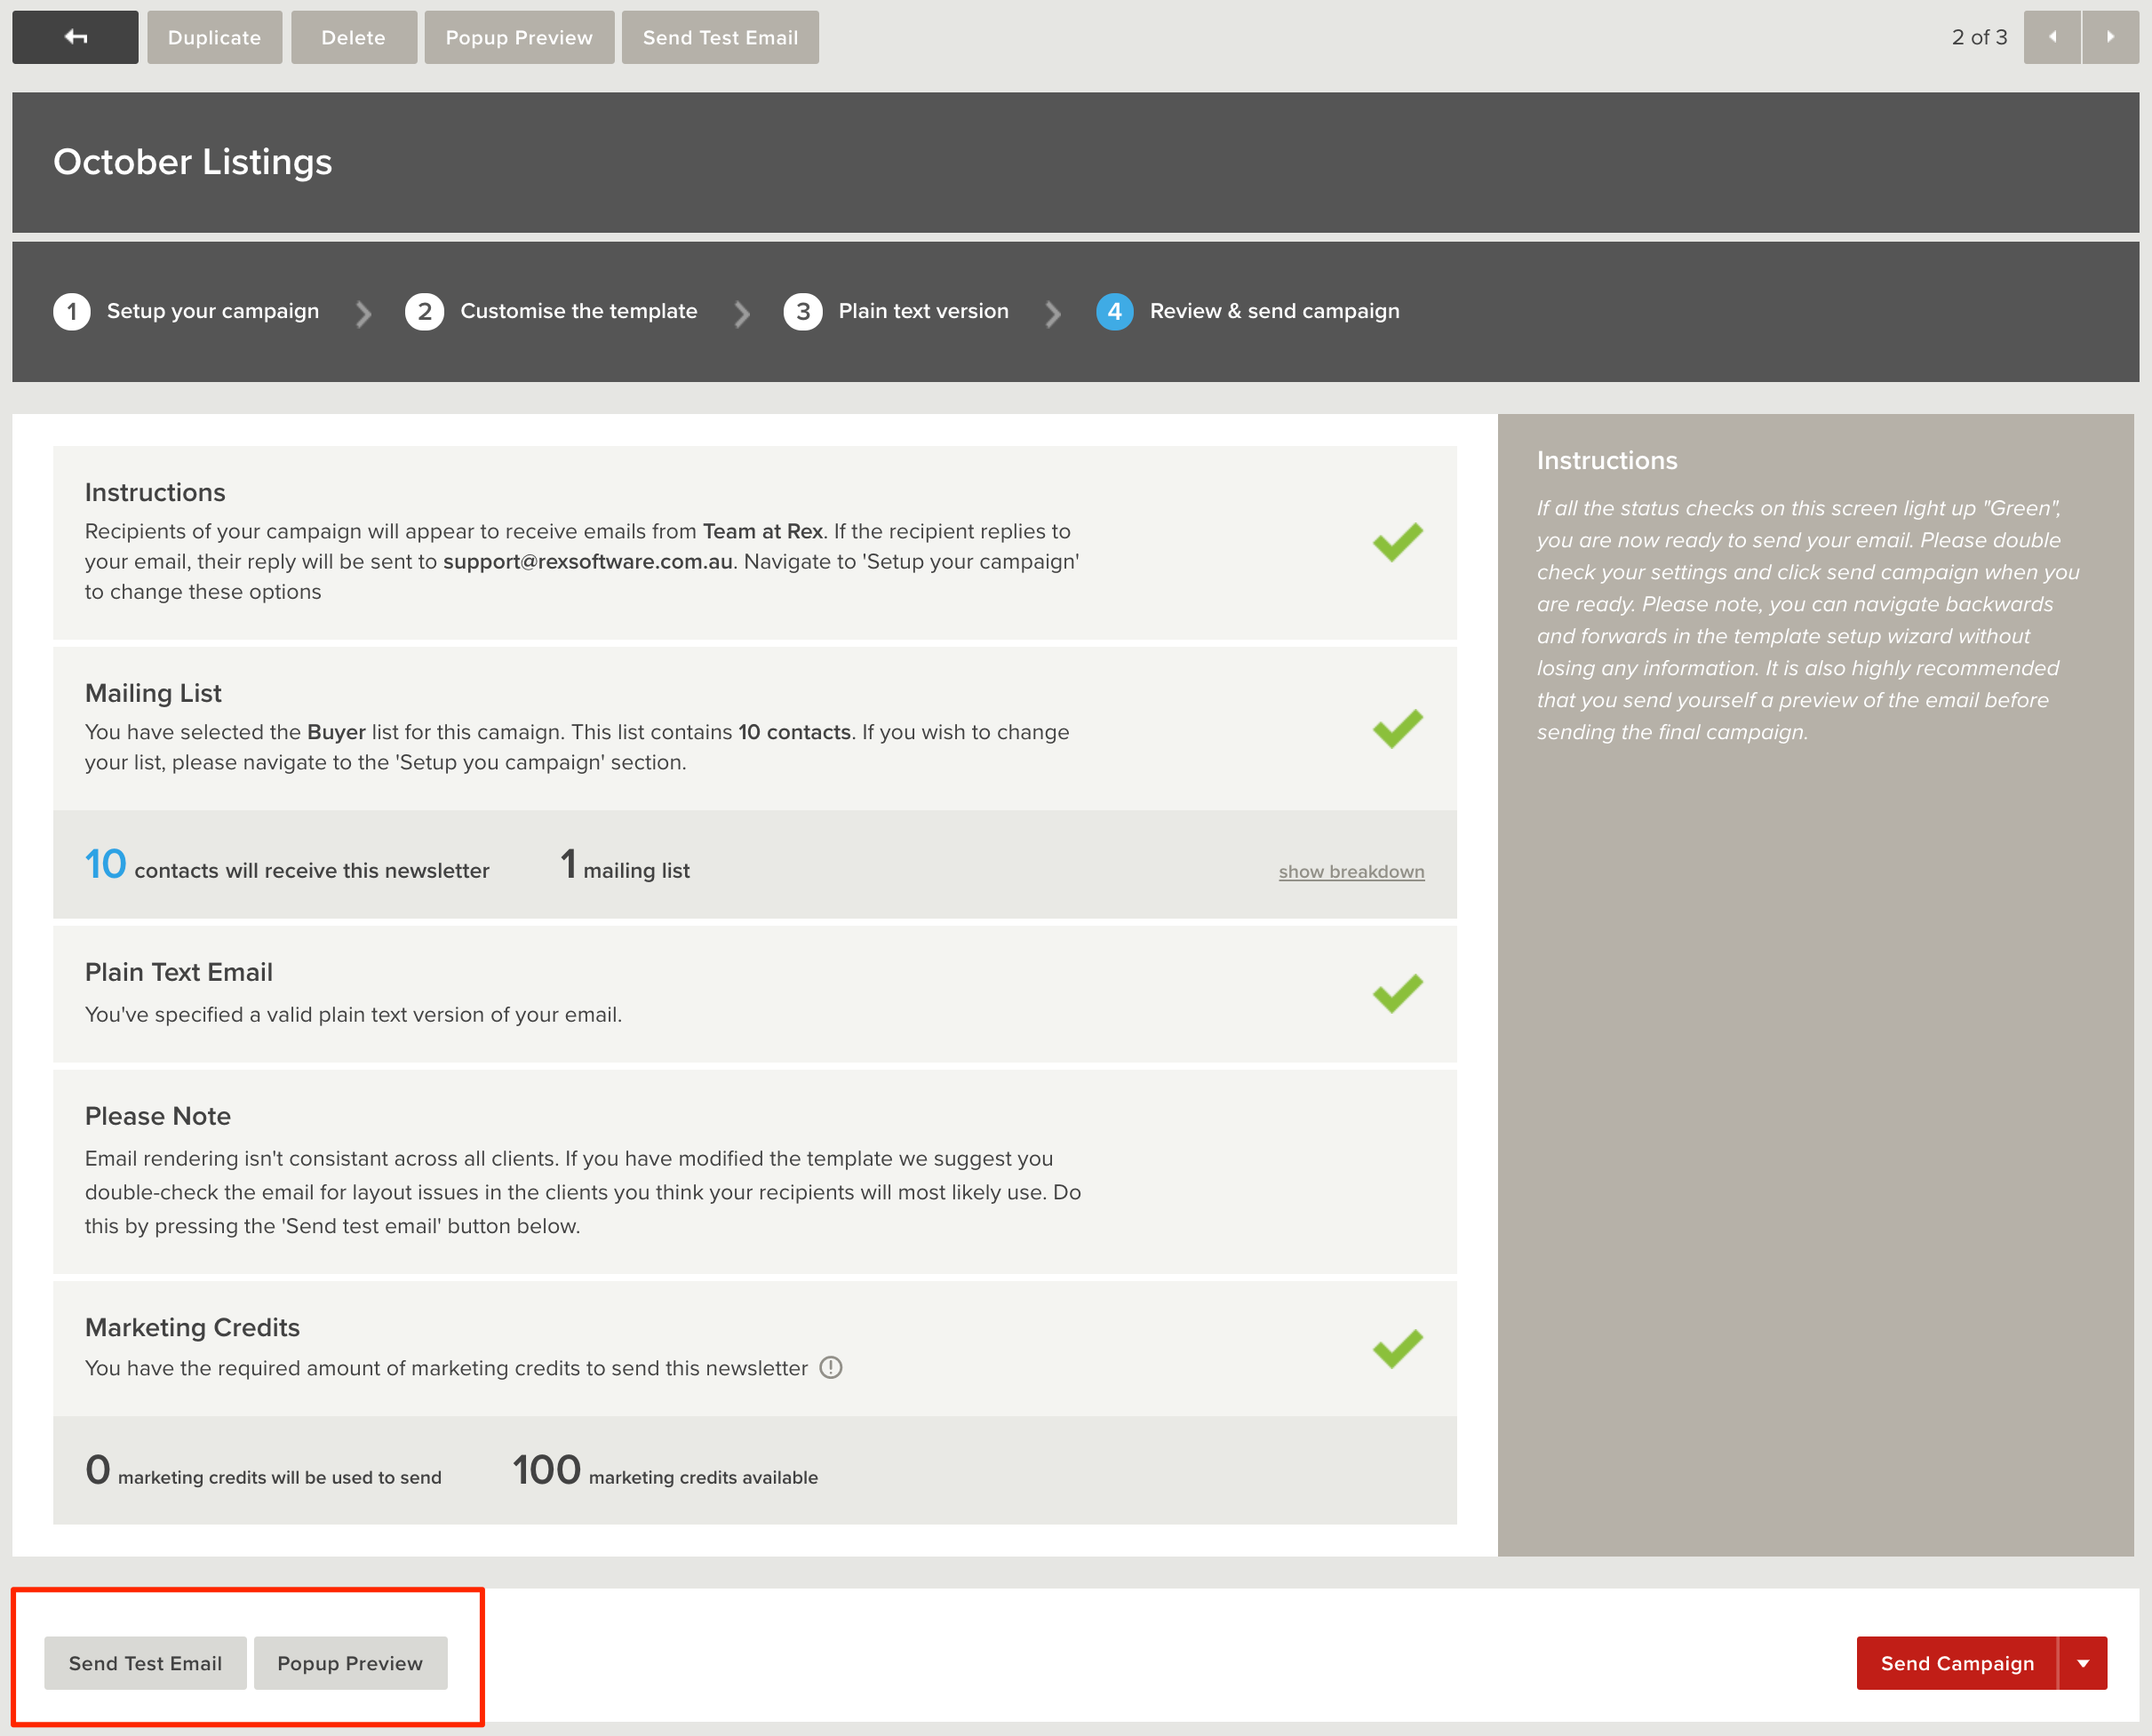
This will take you to the Review & Send Campaign screen; an overview of the steps you have completed up until this point. This page should now show four green ticks. This means your Newsletter Campaign is ready to be sent. If there are any red crosses you will need to go back to that section of the Newsletter and make changes to correct the problems.
Red Crosses on the Review & Send Campaign screen
- Instructions - You may not have entered a subject line, from name or reply to email - see this help content for more information.
- Mailing List - You may not have entered any mailing lists or you may have completed a filter where nobody will receive the email - see this help content for more information.
- Plain Text Email - If you enter any information in the 'Plain text version' screen you will not be able to send your email, you will need to add some text or click the Generate plain text from content button on the Plain text version screen.
- Marketing Credits - The first 250 emails of any Newsletter Campaign are free. For campaigns over this number you will need marketing credits. Take a look at our Marketing Credits help content for more information.
Previewing your Newsletter
You can now either send a test email by clicking the Send Test Email button or preview your newsletter by clicking Popup Preview. From the popup preview and test email you can test your links to ensure they're all working as they should.
Sending & Scheduling your Newsletter
If you're ready to send off your Newsletter right away, simply just click Send Campaign.
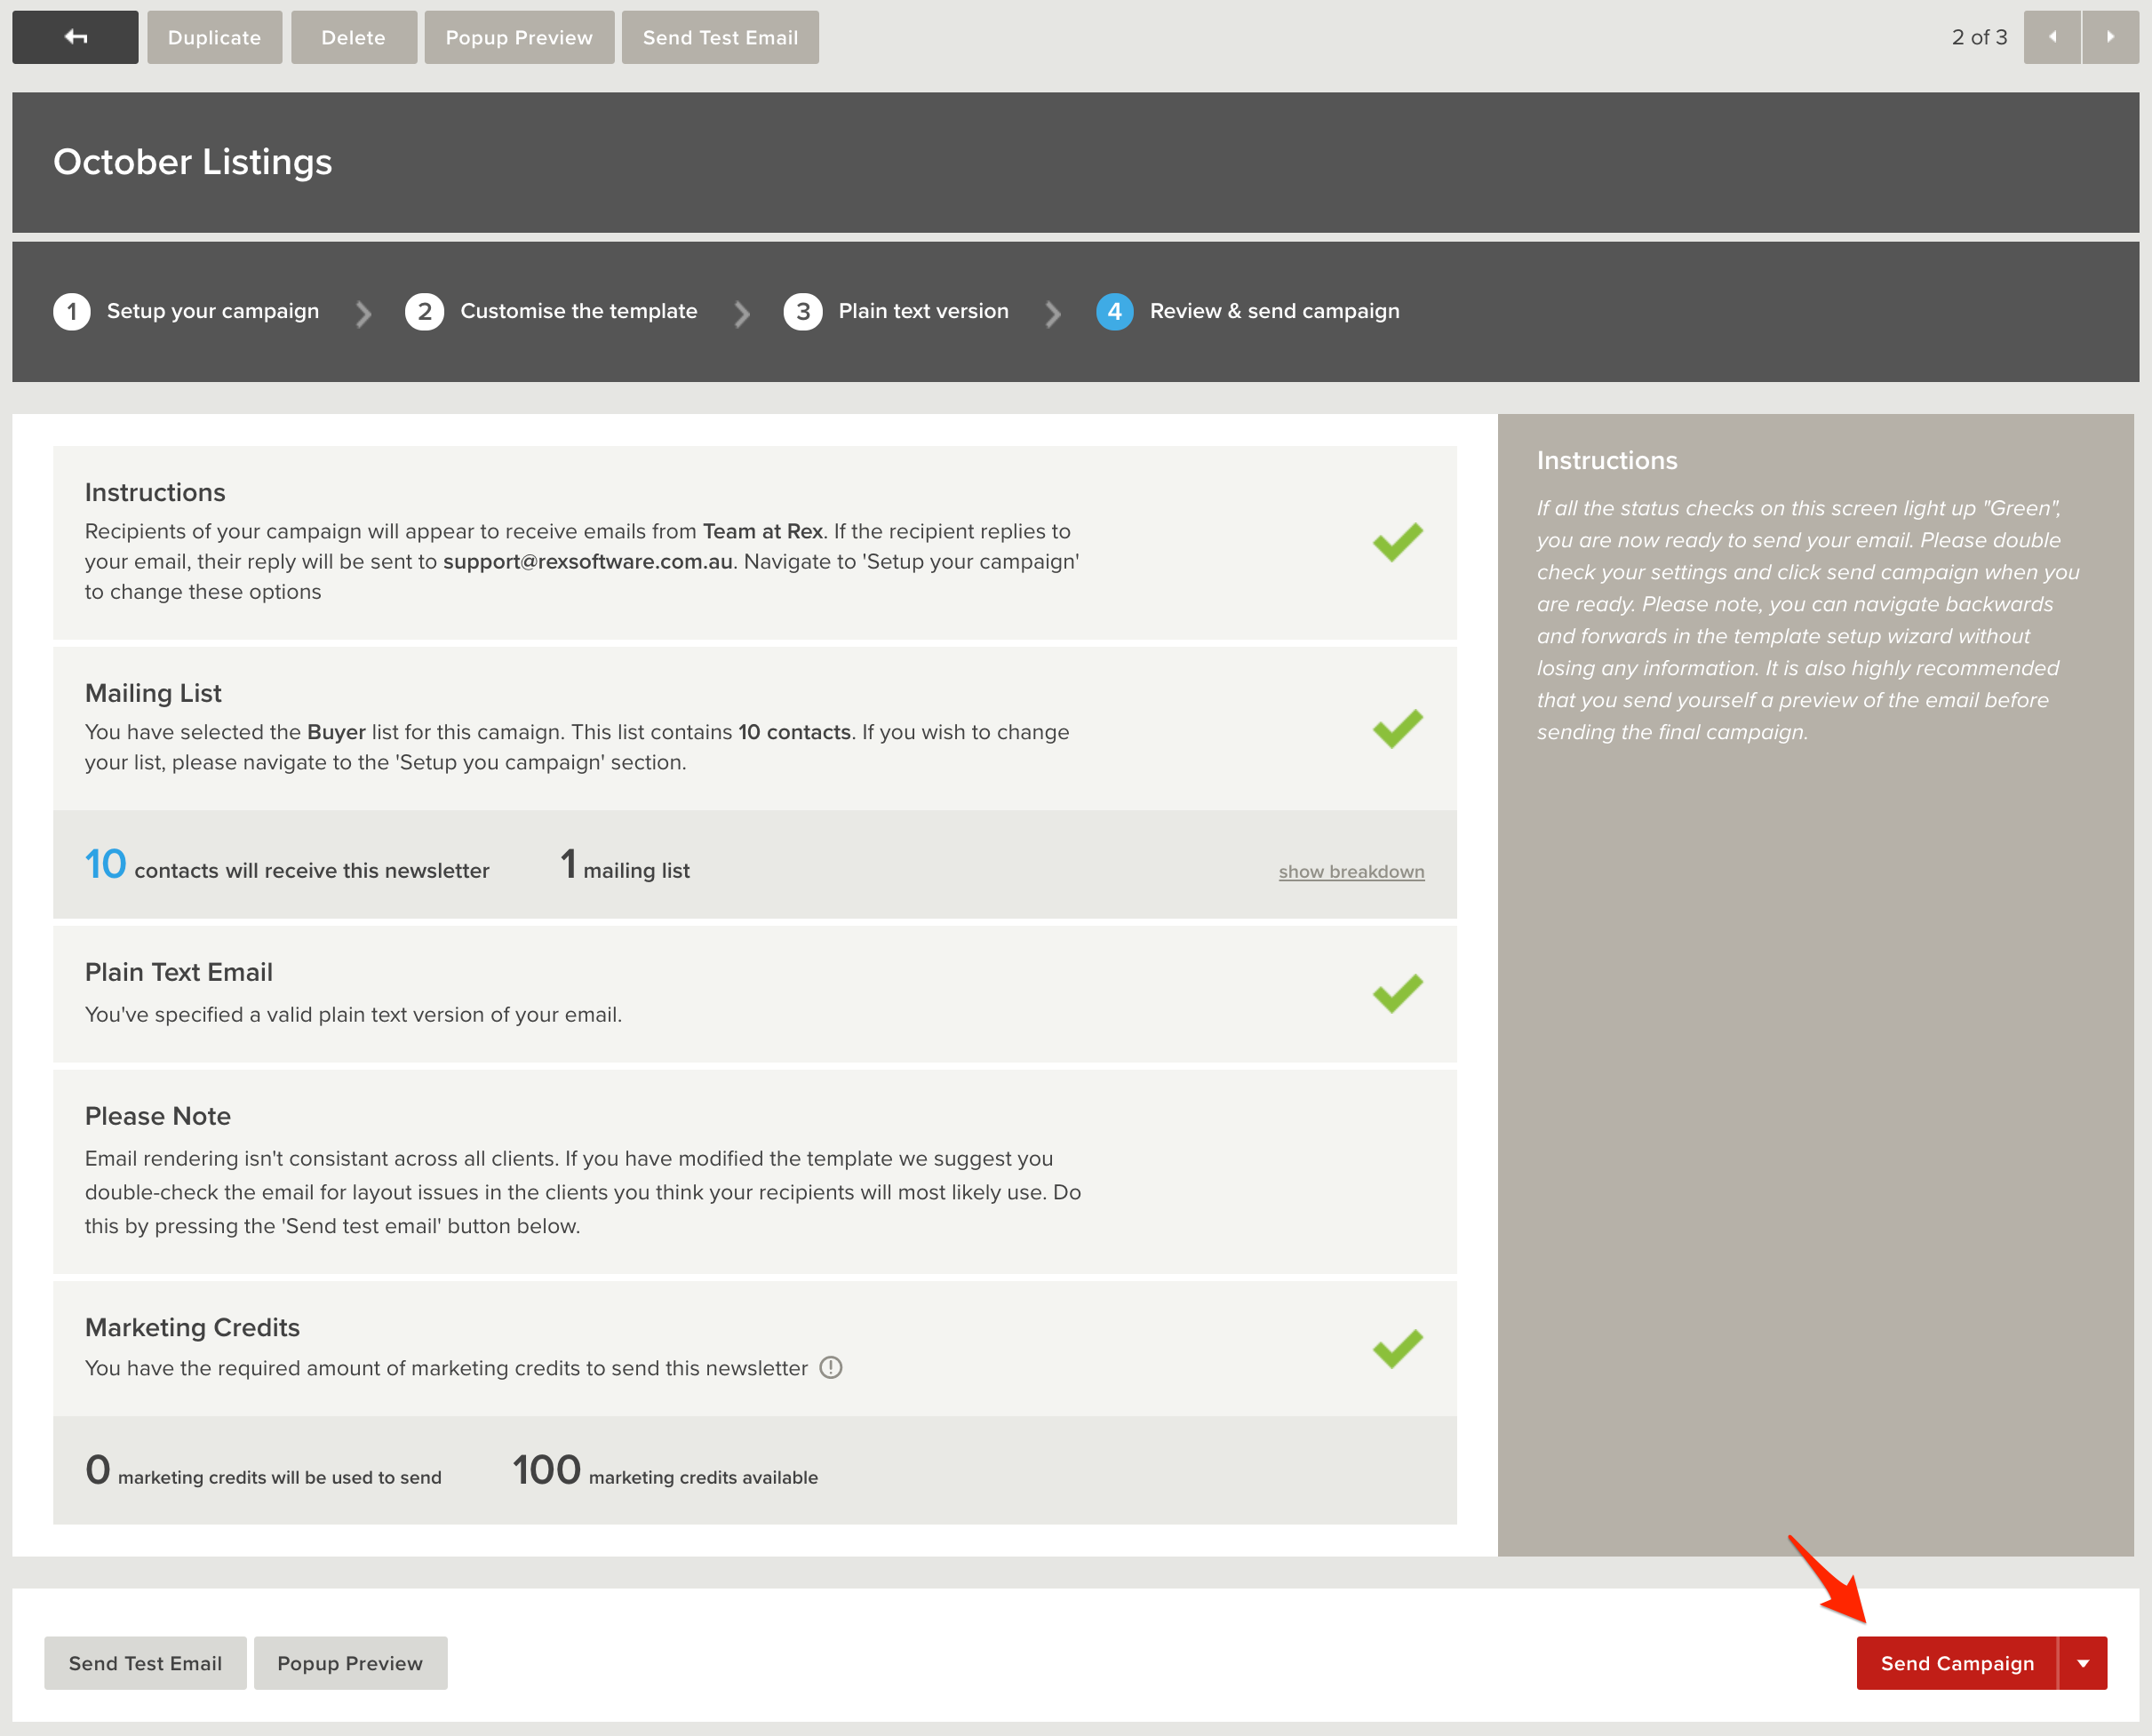
If you've created your Newsletter to send at a later date, you can schedule this to automatically send on a specific date and time. To do this, click the Red Drop-down Arrow next to Send Campaign. An additional dialog will appear to enter in the date and time that you'd like your newsletter to send.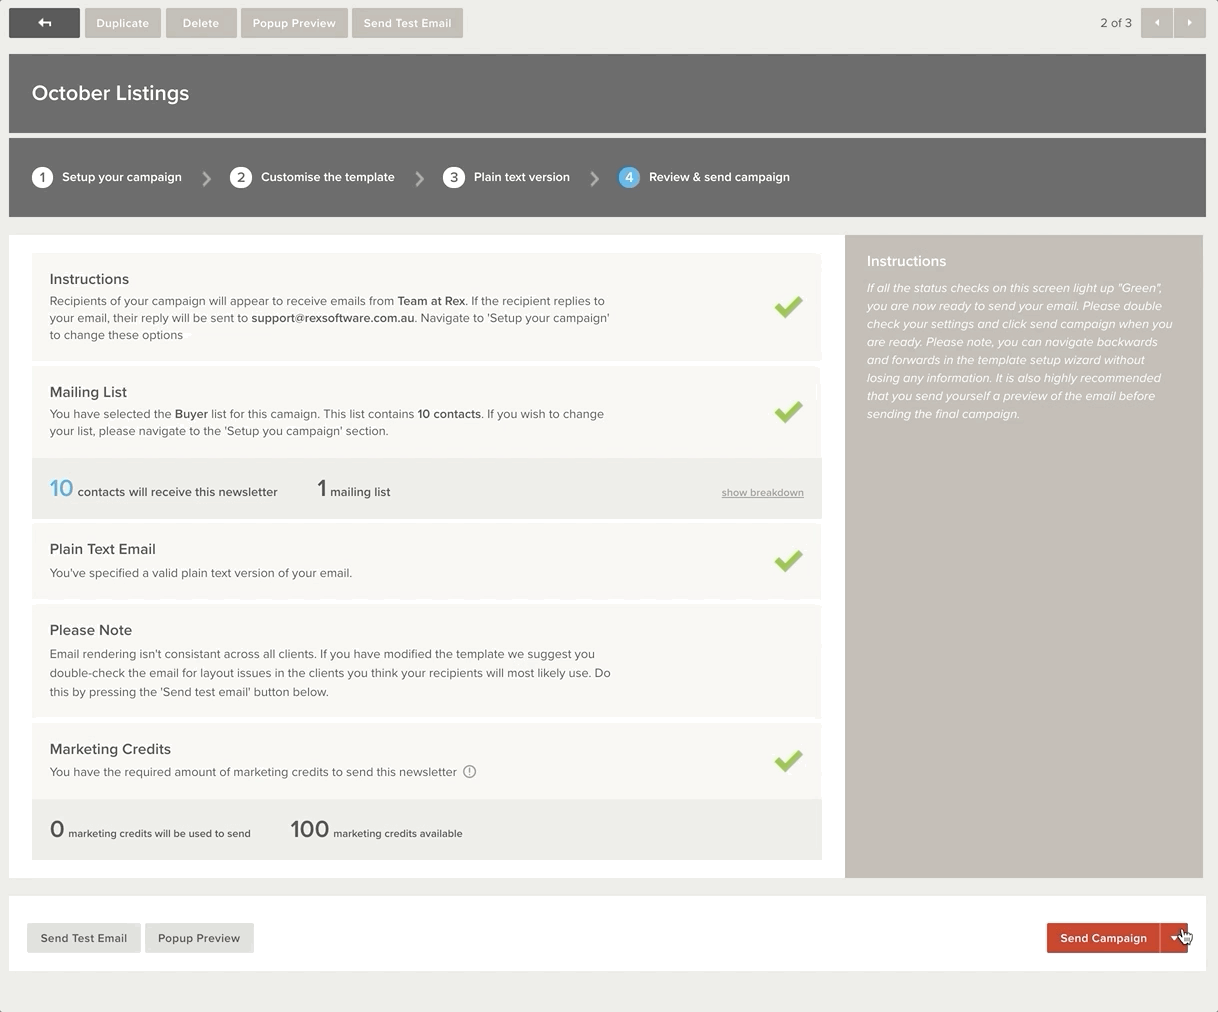
To edit a campaign, just open up the Newsletter Campaign and go to Step 4. In here you can edit the schedule: