Now that we’ve looked at the basics of the brochure builder and modifying a template, we’re going to create a new template from scratch.
There is a step-by-step guide on how to create a Brochure from Scratch and an instructional tutorial video below.
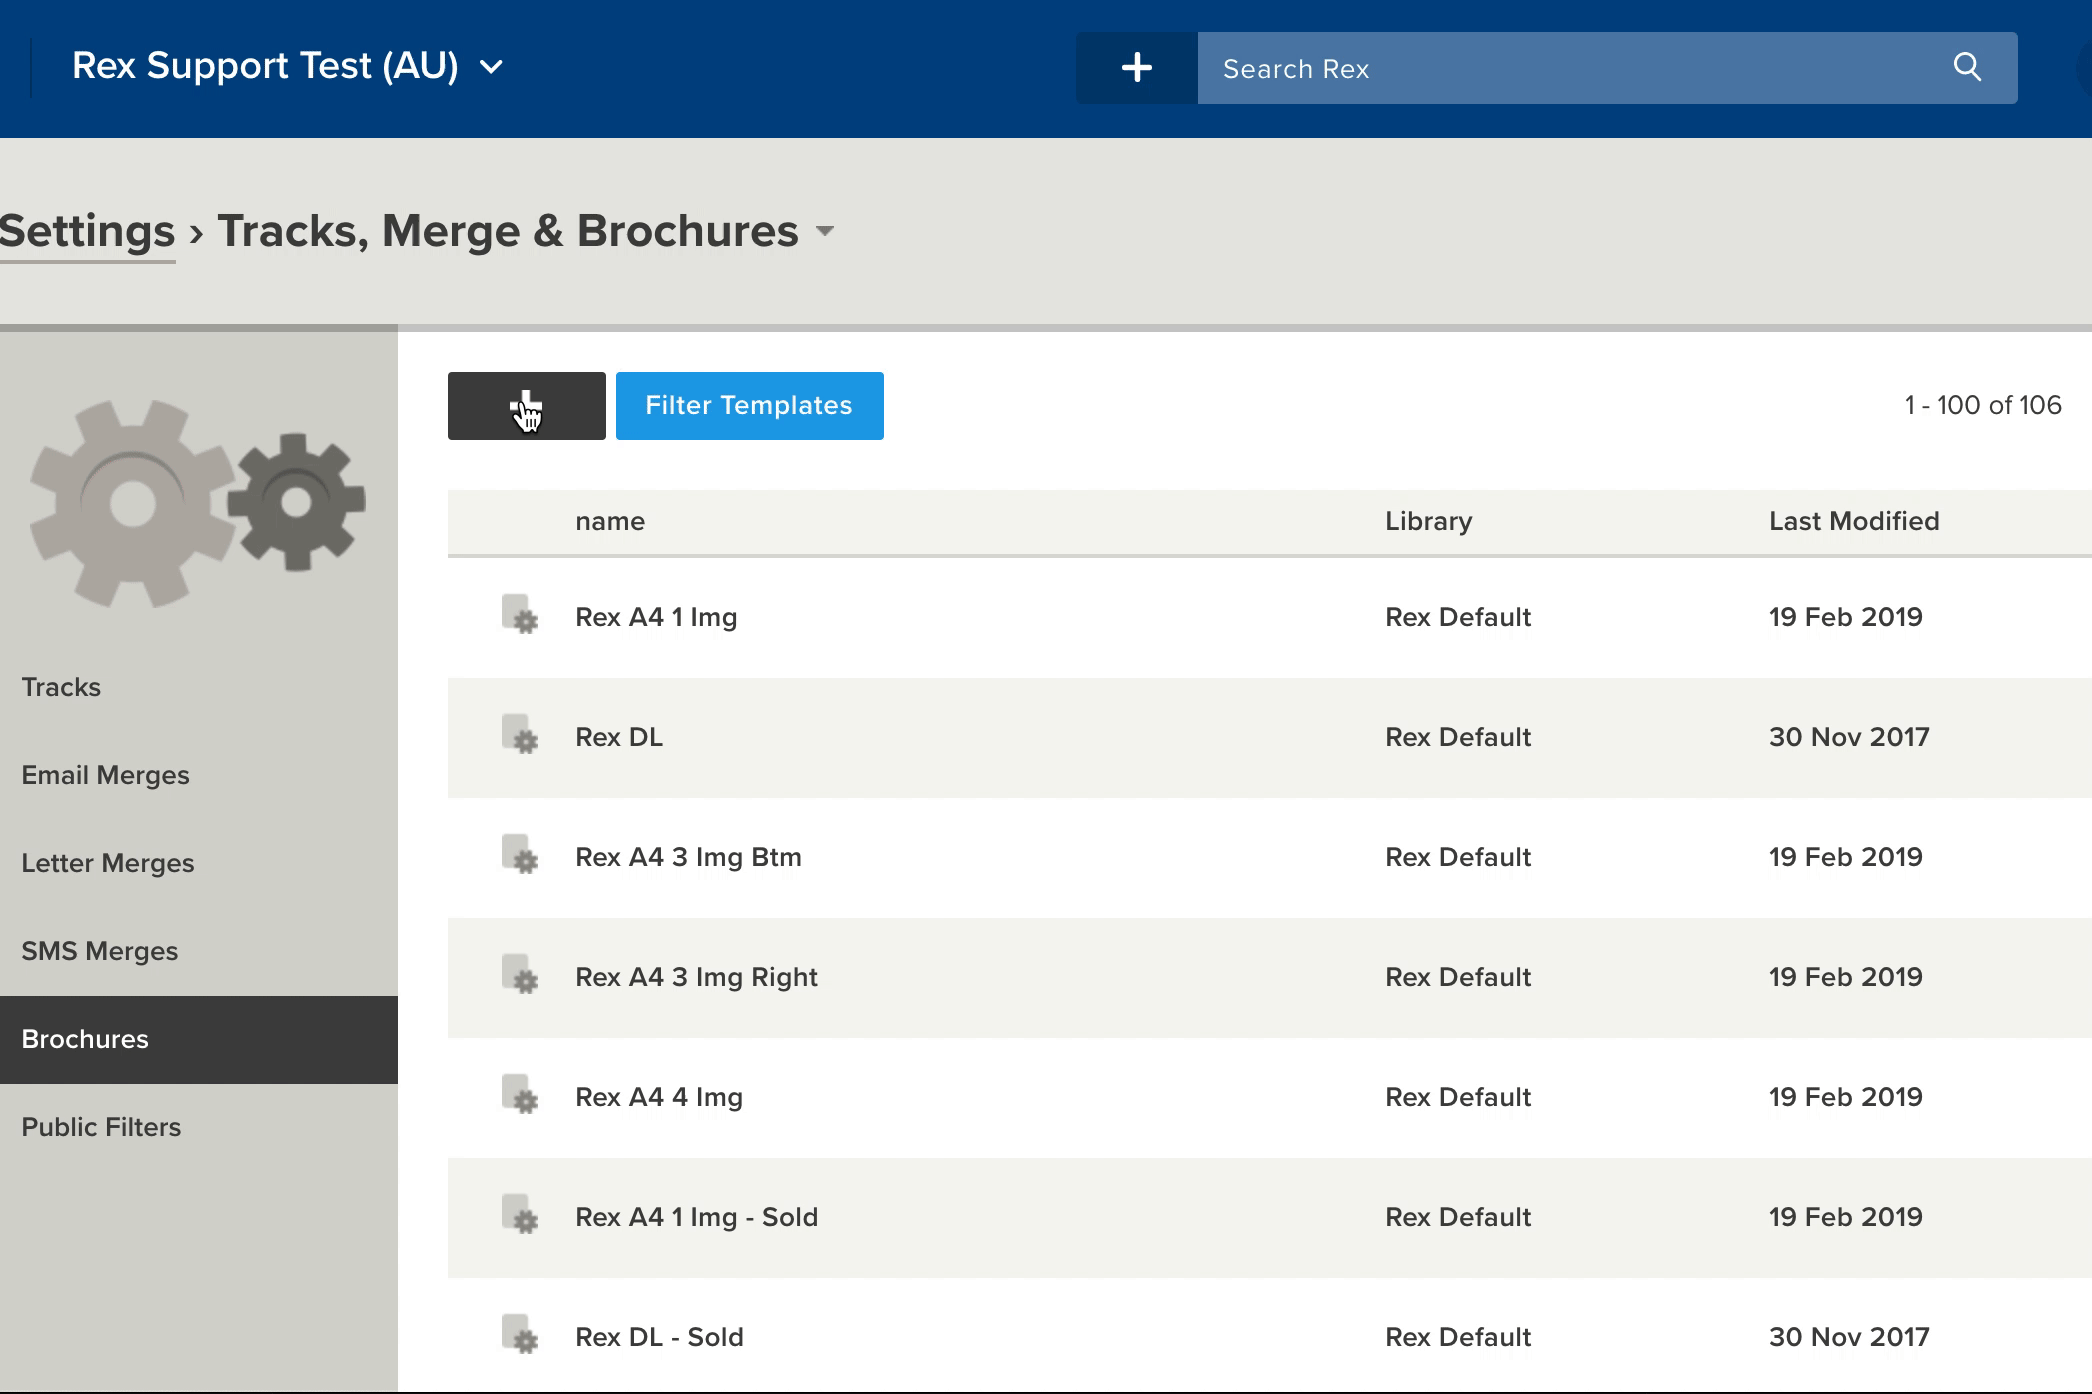
Building a Brochure from Scratch
Navigate to Settings > Tracks, Merge and Brochures > Brochures
- Click on the '+' symbol in the top left.
- Give it a name, adjust the default settings if required and then select 'Add'.
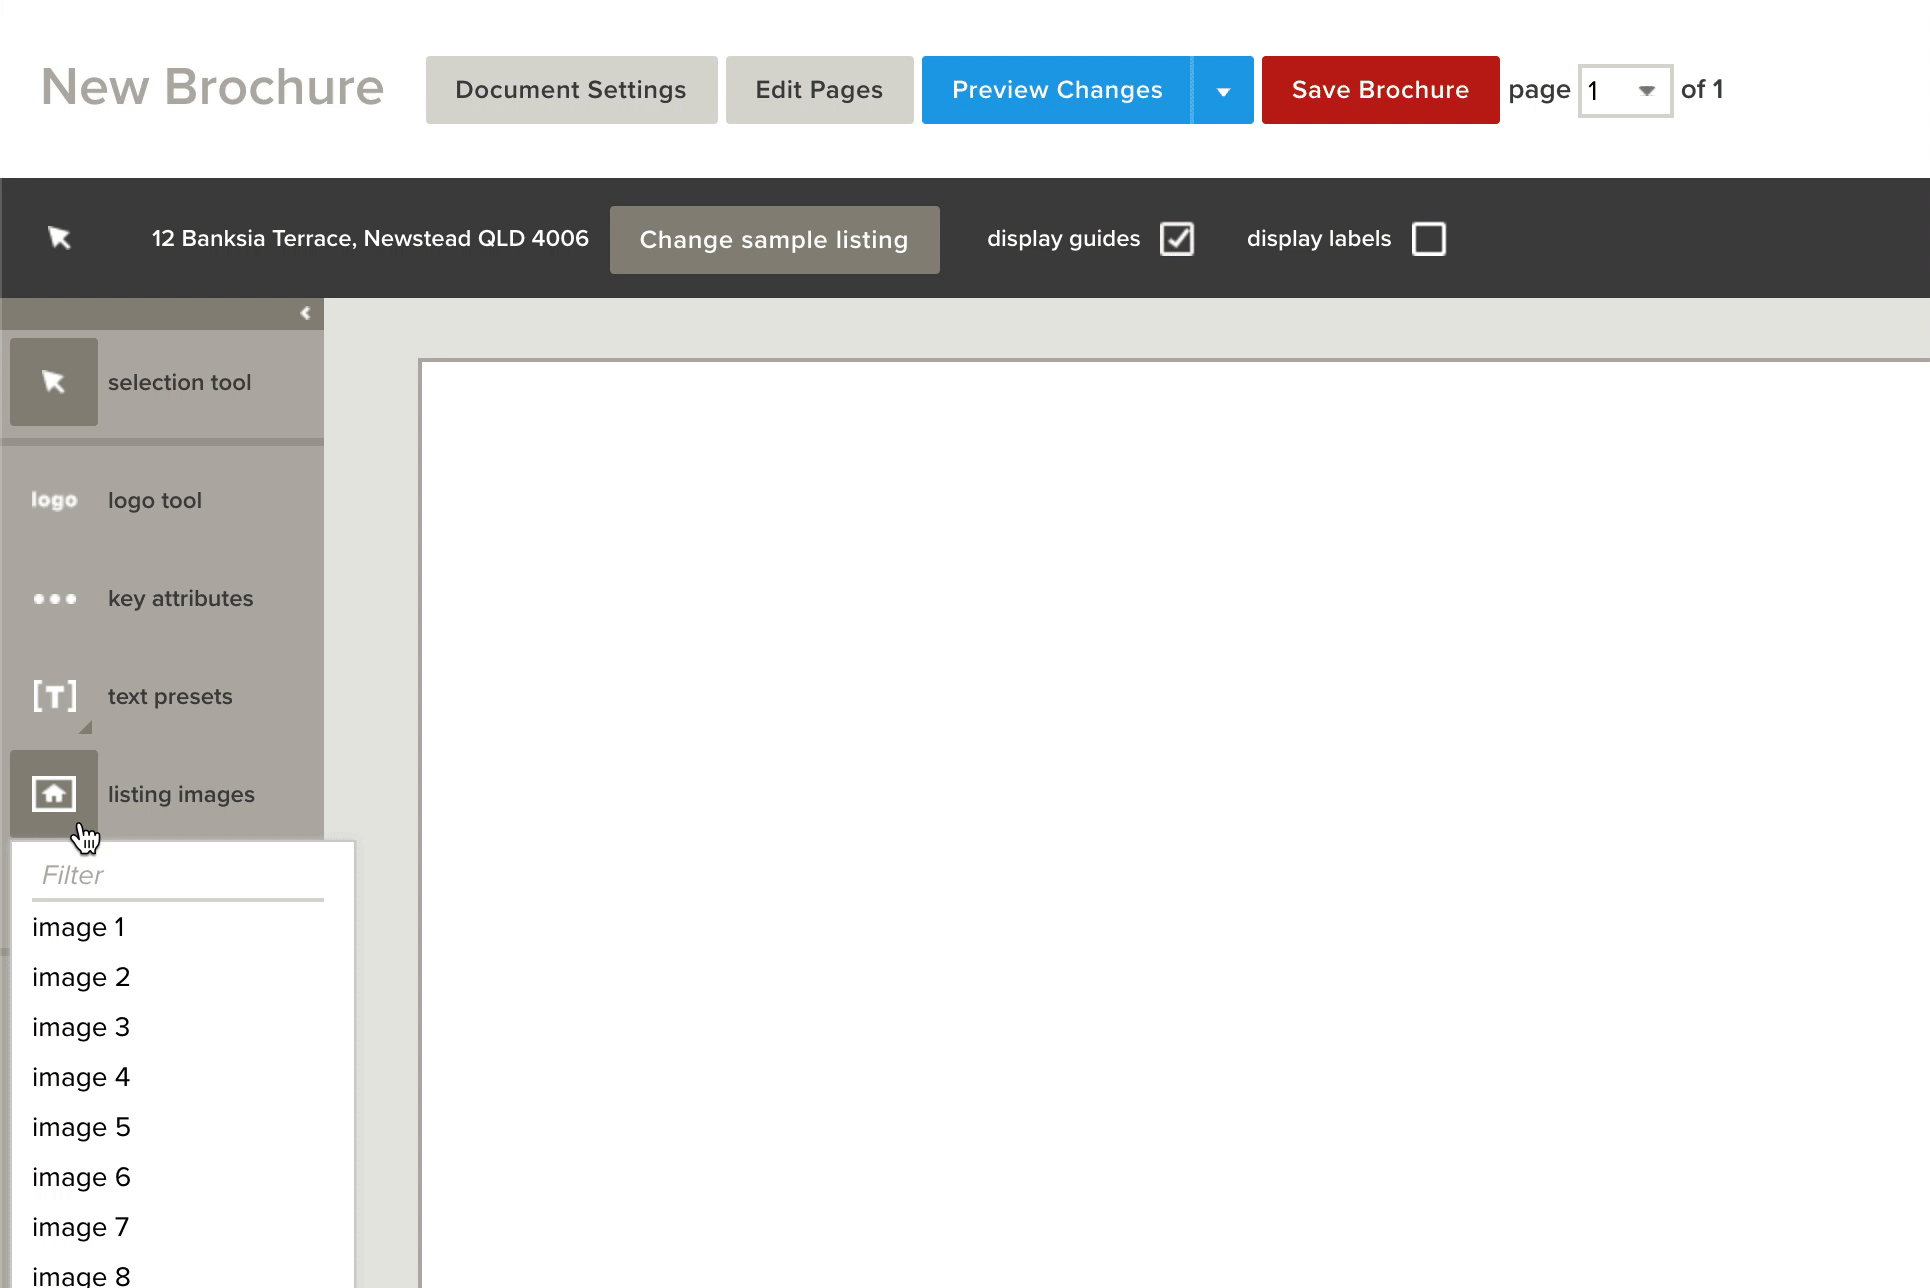
- Choose a Sample Listing address then click 'Select'.
Add Listing Images
- Select 'listing images' from the right-hand menu and choose a listing image (example 'image 1' or 'floorplan 1')
- Drag out the image into the size and shape desired, you can resize after you've dragged and dropped. You can change the Listing image by heading to the top to 'change listing image', and change to a different image.
Add Text
- Select 'text pre-sets' on the left-hand menu
- Choose a pre-set (e.g Full Address, Ad Heading, Ad Body)
- Click and Drag the text box to see text - Move to desired postion
- Select grey 'Edit text' button at the top left of brochure and highlight the text if you'd like to edit the size, colour, alignment etc... Click Save
- Repeat this process to add all desired text fields to your brochure template
You can also use HTML to add custom modifications to the text using the 'Source' icon within the 'Edit Text' window
Add Key Attributes (Icons)
- Select 'Key Attributes' from the left hand menu
- Drag and Drop the Listing attributes/icons onto the template
- Use the 'Edit Layout' button at the top left of brochure to adjust to preferred style and size ect
- Select Save
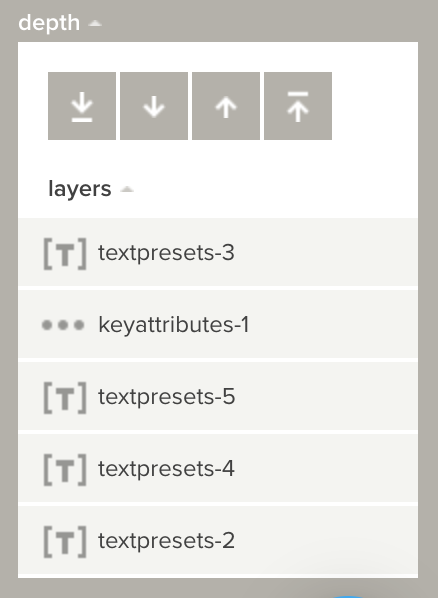
Layering
You can layer text boxes or other elements within your brochure by using the 'depth' tool on the right hand side of the brochure builder
- Select the element you wish choose a layer for using the 'selection tool' (arrow)
- Alternatively select the 'layers' drop down arrow within the right hand panel below 'depth' options
- Use the arrow icons with the line showing to send element to very back or front, or step an element back one place using the regular arrow icons
In the brochure builder, you can't add in shapes other than a rectangle. You can, however, upload an image that's a different shape which has a transparent background. Just go to 'upload image' and drag out where you want it to be.
Choose 'upload image', (the image is a .png with a transparent background). Select the image, hit 'open', and 'save'. You can then see it has got a fill on the background.
I’m going to remove that by heading here and change it to 'no background'. I’ll just change my rectangle now to have a Black fill colour.
I’m going to add in the Agent details now. Head over to 'text pre-sets' and down to 'Agent name', and drag it out.
You can add the Agent phone number, Agent email address etc. If you head to 'text pre-sets', you’ll see those here. What I want to do is add it to the same text box like I did with the Listing ad – this way, if the name or email address is long it’s not going to break my design.
You’ll need to select the 'edit text' box. I’m now just going to drop down a line and add in the merge tags for 'agent details', and 'email address'. Down on the next line I’m going to add the same details but for phone number.
I’m going to make it all the same size by selecting all of the text, selecting the size and hitting 'save'. You can see there's quite a bit of space between the text here, which I don’t really want. When you press 'return' or 'enter' on your keyboard, it'll actually create a new paragraph – when all you need to do is create a line break.
If you go back to 'edit text', I’m going to remove the spacing and hold down 'SHIFT' and press 'ENTER' (if you’re using a Mac), and you can see there it’s just pushed it down one line. Now hit 'save'.
It’s made it much more tidy. I’m going to add in another line to break up the bottom and add in the Agency details. Over to the 'text pre-sets'again, add in 'agency name' and drag it out. I could go back to pre-sets and add in the phone, address etc. but I’m just going to add it into the same text box like I did before.
Add in the Agency address, make it the same size and 'save'.
I’m also going to add in the logo. It’s the same as the Listing image – just click and drag.
Now that we’ve created our brochure template, let’s have a look at it as a whole. If you just head to 'preview changes', in the Blue button up the top. You can see this is what it'll look like when it’s printed off in a PDF.
I can see there is a little gap with the middle strip – so I can go back and fix that up by clicking 'close preview', and just resize the image so that it comes right out to the edge. Hit 'preview' again and it's now fixed that gap. Close the preview, hit the Red 'save' button up the top – the brochure has now been saved and is ready to be loaded from any Listing.