Before diving in, it's worth familiarising yourself with the basics of how Zapier works by going through the resources linked in our Introduction to Zapier article. There's a small learning curve, but once you've got the basics down pat you'll be creating Zaps in no time.
Once you've familiarised yourself with Zapier, here's how you can get started using the Rex integration:
- In Rex, Make sure you have the "Manage Zapier and Webhooks" privilege in the "Admin Zapier / Webhooks" privilege category. Without this privilege, you won't be able to turn on any of your Zaps. If you're a Super Admin, you should already have this privilege.
- Create a Zapier account if you haven't already.
- When logged into Zapier, click the "My Zaps" button at the top right, then click "Make A Zap"
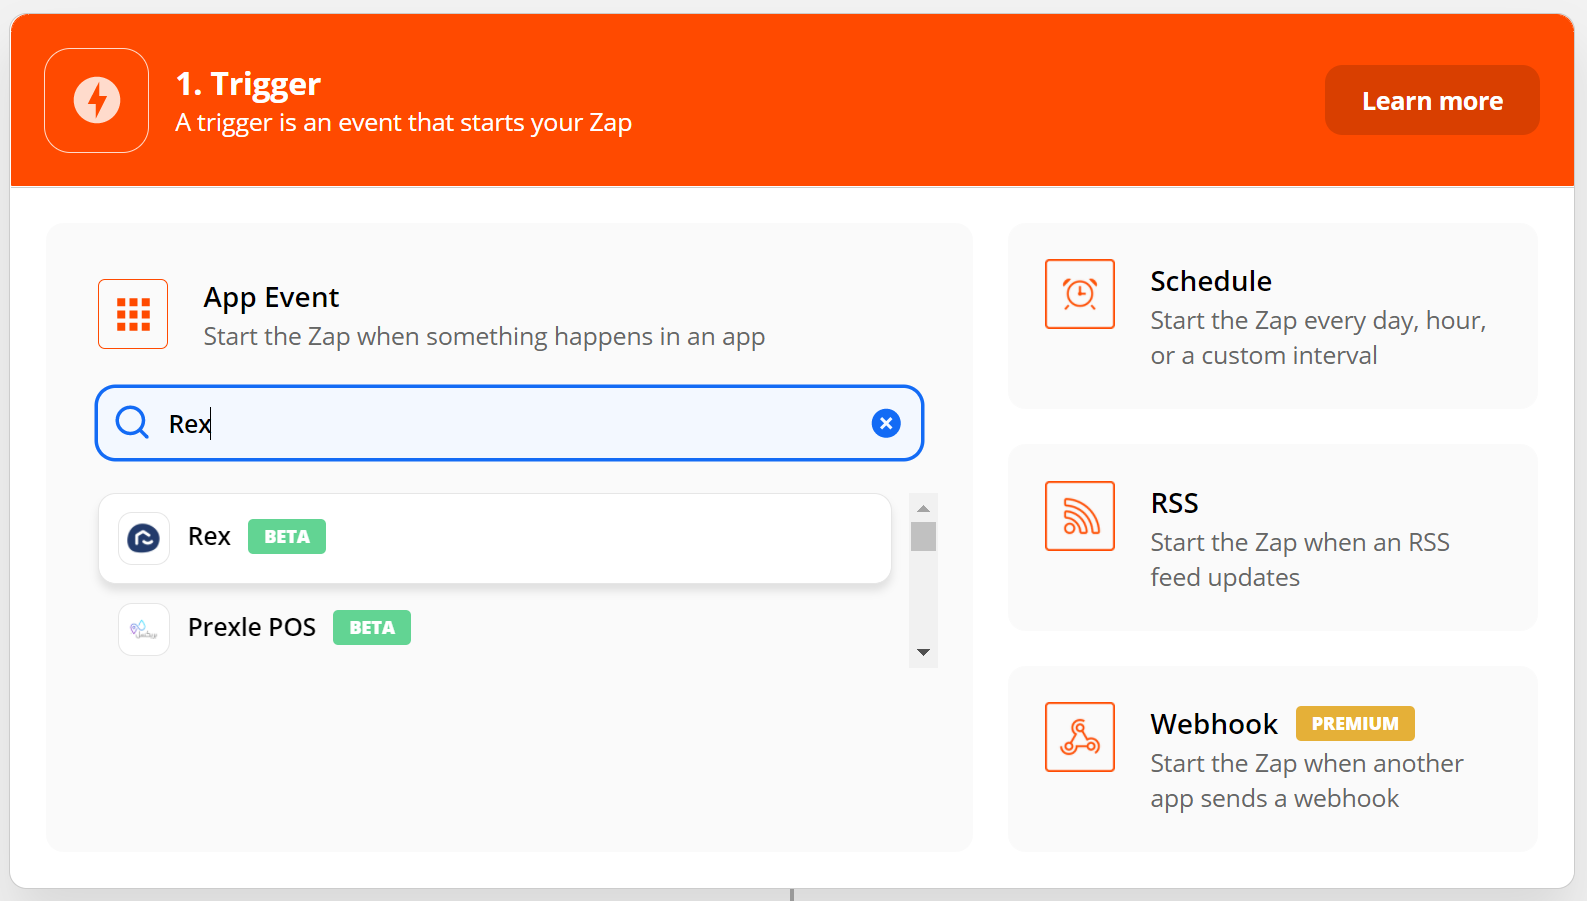
- In the Zap creation screen, in a Trigger or Action step, search for "Rex": the Rex integration should be the first result (look for the house logo).
- When using the Rex integration for the first time in a Trigger or Action, you'll be prompted to "Choose account". This will bring up a prompt where you enter your Rex email, password, and region. You'll only have to enter these credentials once.
- That's it! You should now be able to use Rex in any Zaps you create!
Note Zapier does have a Free tier, although the limitations (low monthly tasks, 1 step Zaps only) make it impractical for most cases. For the easiest experience we recommend going for the Starter Plan or higher.